Home > Working with Planning Projects > Building an Application > Advanced Project Functions > Data Integration > Export Cube Data
Export Cube Data
Last Updated 3/6/2012 7:06 PM
The Export Cube Data function allows you to export specific data from a cube to a location of the user's choosing.
To access this function, go to Cascade Planning Help (BASIC)>Modelling>Maintenance>Export Cube Data.
There are a number of options you can choose from, similar to the 'Import Data' display screen.
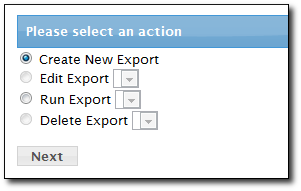
Create New Export - this option will guide you through a series of steps that will allow you to create a new export.
Edit Export - allows you to edit the settings of a previously created export. To choose the export, simply select it from the drop-down list.
Run Export - this option is used when you wish to run the export. Once you have created an export, it will not run automatically. To export the data, you will need to select the export from the drop-down list to run it.
Delete Export - will allow you to delete an export from the system. To delete the export, simply select it from the drop-down list.
Once you have made your selection, click the  button. button.
CREATING A NEW EXPORT
If you wish to create a new export, the wizard will guide you a series of steps and create the export for you to run.

First, you are required to enter a description name for your export into the text box. This is the name that will be used when you run the export.
Next, choose the cube from the drop-down list that you wish to export the data from and click  . .
The wizard will now take you to the main display that will require you to select the settings for your export.
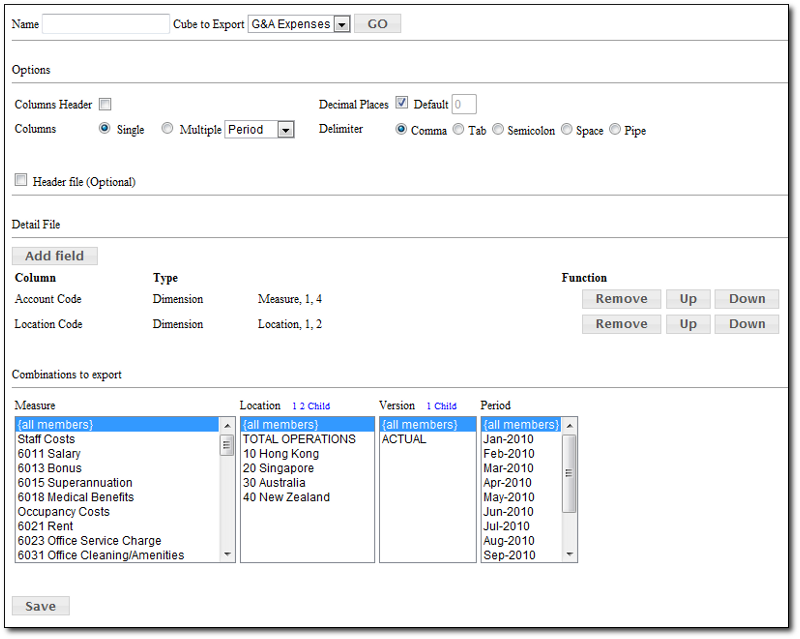
Options :
There are few options available for exporting the cube data into csv file
- Columns Header - if ticked, the CSV file will have the column header for each column (dimension name, period, etc)
- Columns - For Data column, can be either a single column, or multiple column based on the selected dimension (by default is by period)
- Decimal Places - the number of decimal places for the data in the csv file (default is 0)
- Delimiter - Choose the character to be used as the delimiter
Header File :
This is an optional feature, to allow system to export the column header into a file, separately from the data (csv) file.
Detail File :
This is the setup to define what data will be exported into the CSV file.
Clicking on the Add field button brings up a window which allows you to include an additional field in the exported file.

Column Name - The name of the Column (to be used as Column Header, if it's enabled)
Type - Type of column , the options are :
- Auto Number - will generate auto generated number for each line
- Dimension - Will output the dimension name, based on the selected dimension, and based on the Substring of the name of the dimension member
- Period - will generate the period of the record
- Fix - Enable to enter a fix string to be inserted into each line
- Mix - Enable to enter a mix of Dimension name and the Fix String
- Data - Will output the data of the record
Once the Detail Setup added to the system, we can move the order, or remove it, if it's no longer needed.
Tips : to add the system date into the exported csv file, use the following setting :
1. add field with type 'Fix' and use this syntax :
{today:dd-mm-yyyy}
The format of the date can be changed using the following format as well :
{today:yyyy}
{today:mm-yyyy},etc
Combinations to Export :
The last step is to decide which combination of data will be exported, you can select each the combination for each dimension (including measure & period), by clicking each member manually, or clicking on the level of the member (level 1, level 2, or child only).
By default, it will be exporting all combination.
Once finished, save the Export Setting, and we can start exporting the cube data.
Generating the Export file
To generate the export file, go to Cascade Planning Help (BASIC)>Modelling>Maintenance>Export Cube Data
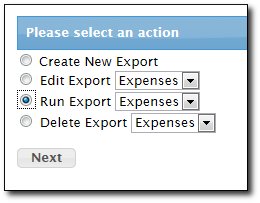
Select Run Export, then select the Export Name defined during the Export Data Setup. Click Next button to run it,
It will show the option to download the data file (if header file enabled, then it will be shown as well).
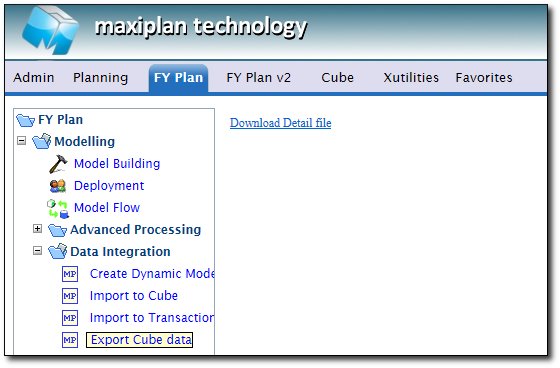
Once it's clicked, it will open the data file in the browser, which then user can save it locally in their machine.
See also
| 

 Page URL: