Home > Working with Planning Projects > Building an Application > Deployment and Workflow > Workflow for Users
Workflow for Users
Last Updated 2/22/2012 7:51 PM
Once a model has been deployed to a user, the project folder tab will appear in the users list of available tabs, giving the user access to the model and associated workflow, based on the level of access granted to the user.
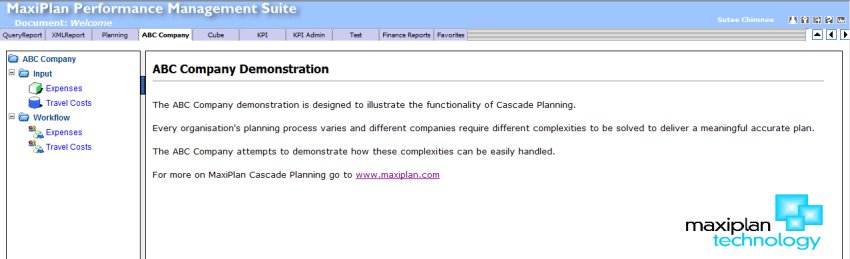
The user is only given access to the Input and Workflow groups for the model(s) that have been deployed to them, and does not have access to the modelling functionality for the project.
Viewing and Editing the Data
Under the Input folder, any models deployed to the user are available to either view or input data, dependent on the access rights granted to the user. Selecting a model causes the model to be displayed in a spreadsheet in the main display area.
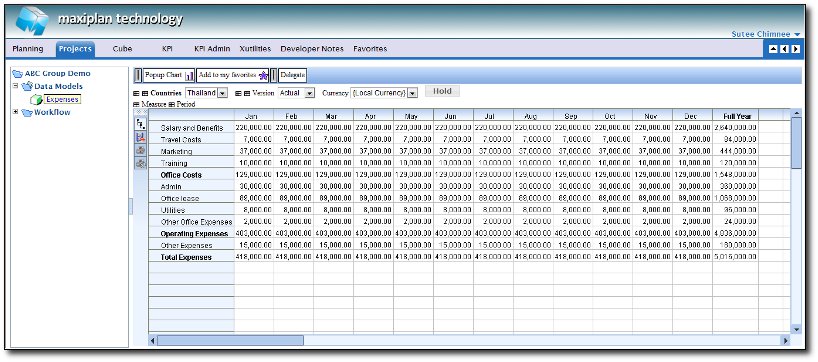
The default display is measures down the left (rows) and periods across the top (columns), but these defaults can be changed by the project owner. The remaining dimensions are displayed across the top of the spreadsheet, and allow the user to select different slices of the data.
Whilst a model cube may have several combinations (slices) of data, the user will only see those combinations that have been deployed to them.
Additionally, if currency has been enabled, then a dropdown list of currencies will be displayed (the default display is '{local currency}').
A number of navigational controls are available to change the layout of the spreadsheet and slice and dice through the data.
Next to each dimension the grid icons allow the user to slice the data in different ways.
Clicking the  icon next to a dimension dropdown list will cause that dimension to be displayed as the rows of the spreadsheet. icon next to a dimension dropdown list will cause that dimension to be displayed as the rows of the spreadsheet.
Clicking the  icon next to a dimension dropdown list will cause that dimension to be displayed as the columns of the spreadsheet. icon next to a dimension dropdown list will cause that dimension to be displayed as the columns of the spreadsheet.
Clicking either the or icons next to the current rows and columns dimensions will cause these to be transposed.
On the left of the grid, there are 4 grid options.
Clicking on  hierachy mode option toggles the grid view for showing hierarchical structures of the rows and columns.The hierachy mode option is on by default. hierachy mode option toggles the grid view for showing hierarchical structures of the rows and columns.The hierachy mode option is on by default.
Clicking on  export option exports data on the current grid view to a comma delimited file. export option exports data on the current grid view to a comma delimited file.
Clicking on  print option prints the current grid view. print option prints the current grid view.
Clicking on  print setting option brings up the print settings window. print setting option brings up the print settings window.
Dimension Filters
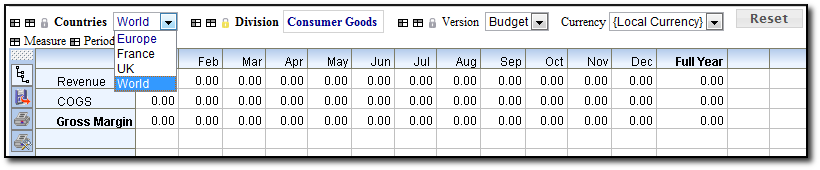
Some cube models may contain dimensions which have the valid combination option activated. Dimension filters can be applied while viewing such cube models.

Clicking on next to the dimension will turn on dimension filters. The rest of the dimensions will be filtered according to valid combinations for the selected node on the dimension.
For example, Consumer Goods is only vaild for Europe for all versions. Refer to the image below to see what happens if dimension filters for Consumer Goods in Division dimension as been turned on.
See also
| 

 Page URL: